This past weekend was the start of my annual adventures in vegetable preservation. It is a small attempt to take a piece of what is so great about summer and save it for a cold winter day. While nothing beats a vegetable taken directly from garden to table, home freezing and canning are the next best thing. I'm not quite sure why home preserved food tastes so much better than what you get in a store, but it does. Is it using fruits and vegetables that are as fresh as possible? Is it the lack of additives? Is it the variety of fruit and vegetables that are grown on a smaller home farm? Probably a combination of all of the above. And you can ask my family about the corn that I freeze. Every family gathering throughout the year I get the same answer when I ask what can I bring? "You are bringing your corn of course!" Ok, yes I am bringing the corn.
 Sunday I picked, blanched, package and froze 11 quart bags of broccoli florets. Sorry for the lack of pictures on this one, but I can assure you the broccoli looked great.
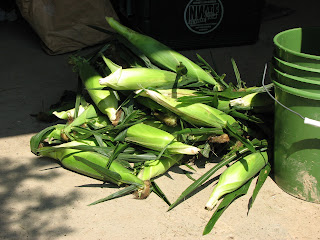
Monday was corn freezing day. Mike said there were three different varieties of sweet corn that were ready so I figured about 3 dozen of each variety would do nicely. So Mike picked the corn and dropped it off at the house for me to take over from there.
Now a corn freezing blog post would not be complete without a discussion of removing the husk from an ear of corn. From the time I grew up, my family called this shucking corn. My husband grew up on a vegetable farm in southern Ohio and the first time I talked about shucking corn, he started laughing uncontrollably. When he stopped laughing, he told me that shucking referred to an old time method of taking the husk off of field corn back in the day before combines when much of the corn harvesting was done by hand. Of course, he wouldn't tell me what was the proper term for removing the husk off an ear of sweet corn so I had to come up with something on my own. Why husking didn't pop into my head, I will never know, but I chose the verb "peel". So for the last 20 years, I have told my husband that I have to go peel the sweet corn to get it ready to cook. This results more uncontrollable laughter from that farmer I live with, but I am quite used to that.
Now in getting ready for this blog post, I decided to do a little research on what exactly is the definition of "shucking" and I find out that one of the accepted definitions is "to remove the husk off an ear of corn". Not just field corn. Any ear of corn. Shucking and husking are used interchangeably and both can be used when talking about sweet corn. Take that Mr. Corn Man! My family was not wrong after all. Of course then he has to tell me that shucking must be a regional term because where he comes from it is called husking and nothing else. Period. Whatever dear. I have to go peel my corn now.

With the corn husks removed, the first step in all this is to blanch the corn in boiling water. Don't ask me how long because I don't really know. The books say 3 minutes. Most will also say to add the corn to a pot of boiling water, wait for it to return to a boil and then start timing. Well, with a big stock pot of corn, it may take a good 10-15 minutes for the water to come back to a boil even with the pot lid on and the burner on high. That always seems such a long time for those tender kernels of corn to be sitting in a pot of nearly boiling water. So I just put the corn in the boiling water and wait until the water is just barely starting to boil. This is usually in the 7-10 minute range for a large pot. Just kind of winging it here. I guess whatever I do is working because I am required to bring corn to all family dinners.
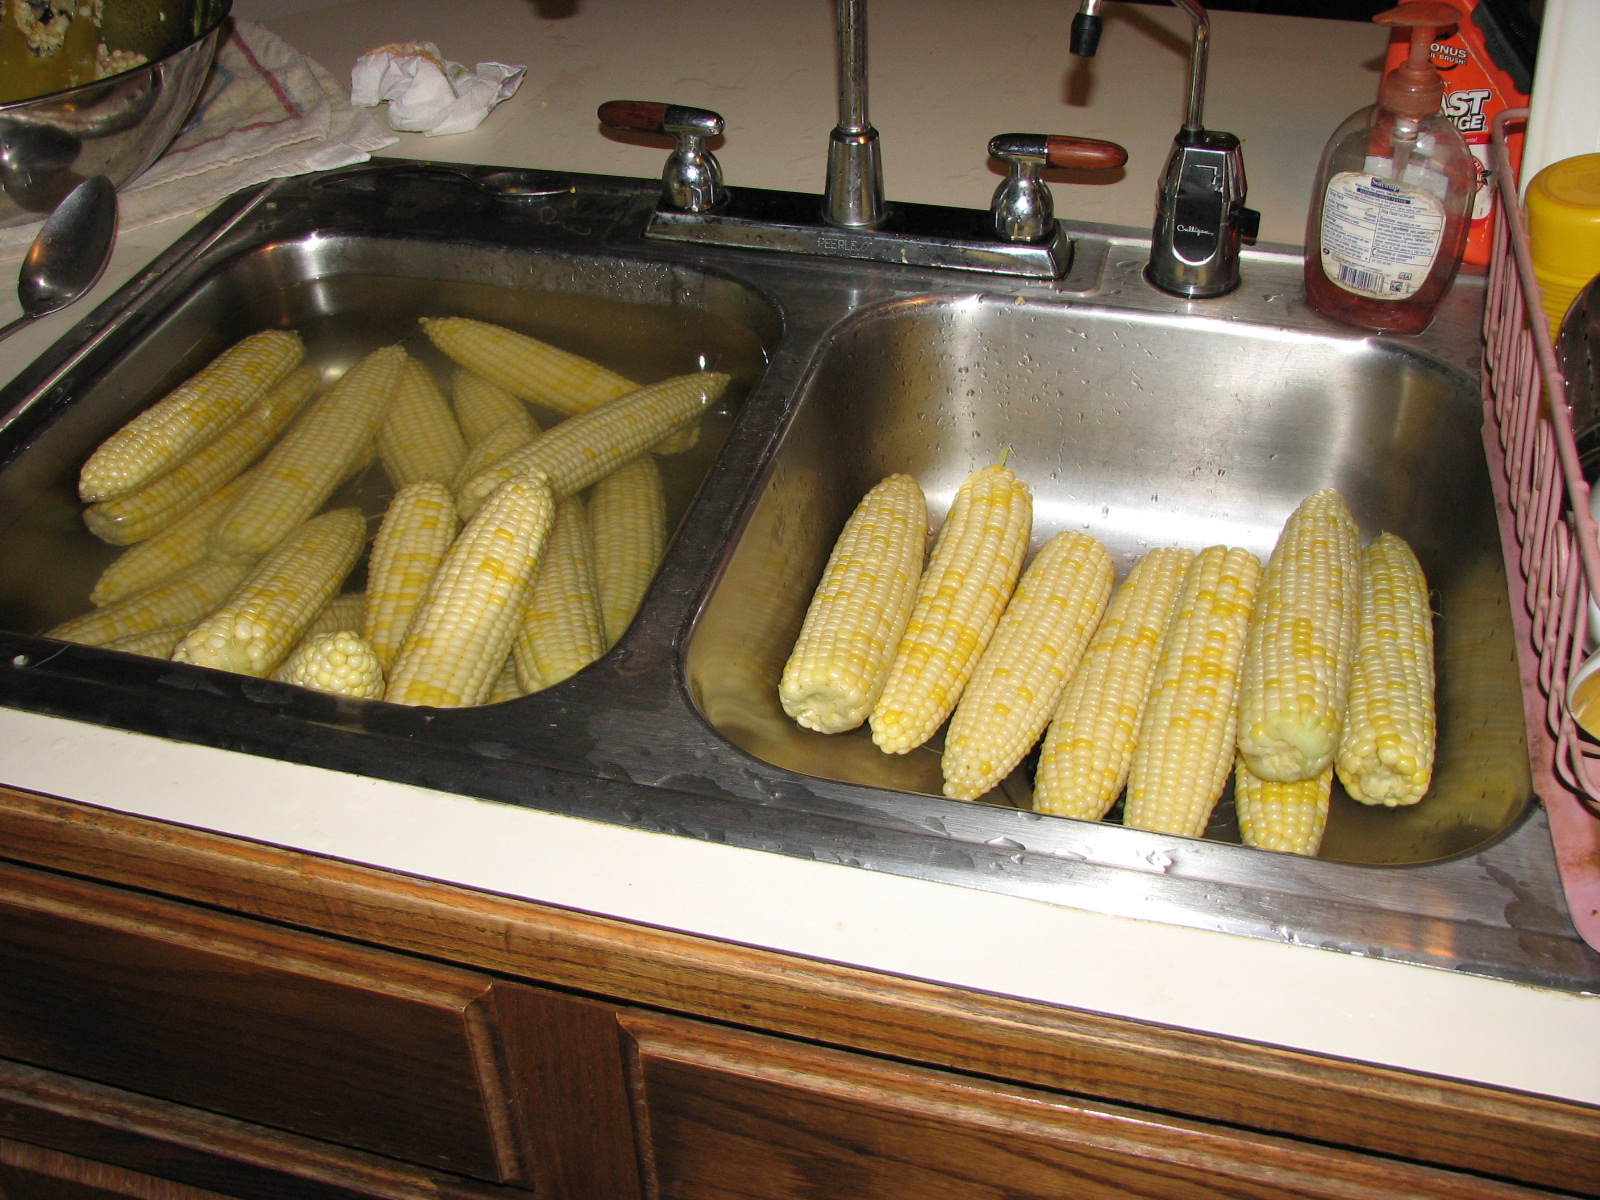
After blanching, the corn is plunged into a sink full of ice water and cooled for about 10 minutes. Then into the other side of the sink to drain.
Next is removing the kernels from the cob. A corn knife is not required, but it does make this job a whole lot easier I think. My only problem with the corn knife is that I do have a tendency to slice off little bits of my thumb. The thumb slicing is not the fault of the design of the knife. More like operator error. Someday I'll speak of the klutziness gene I seemed to have inherited. Fortunately this doesn't happen too often and I am happy to report that this year, I came away injury free.

On to filling the containers. I like to use plastic freezer containers with lids. Freezer bags work too, but I find the plastic containers easier to fill especially for this next step. I learned this one from my mother-in-law. (Maybe this is the secret to making the frozen corn taste so good?) I make a mixture of 1 cup of water, 1 tsp of sugar and 1 tsp of salt. Stir until dissolved and then after the corn is put into the plastic containers, I pour this solution over the corn until it just barely covers the kernels. Of course, you have to make sure to leave a little bit of room since the water will expand some when frozen. One cup will do a few containers. I just make a couple cups at a time and mix up more as I need it.

Then on go the lids, labels and into the freezer. My nine dozen ears (3 of each variety) made 7 quart containers, 4 pint and half containers, and 15 pint containers. And there you have it. Summer time goodness preserved for a cold winter day. Once you have eaten this, you will never go back to store bought frozen or canned corn again.

 Sunday I picked, blanched, package and froze 11 quart bags of broccoli florets. Sorry for the lack of pictures on this one, but I can assure you the broccoli looked great.


No comments:
Post a Comment